Thinking about putting in new floors in your San Antonio home? You might be wondering if you should do it yourself or hire a pro. DIY flooring installation can save you money and give you a sense of pride, but it also comes with risks and challenges that may outweigh the benefits for some homeowners.
Installing your own flooring can be an exciting project that changes the look of your living space. Before you start, it's important to weigh the pros and cons. You'll need to consider your skills, time, budget, and the type of flooring you want to install.
San Antonio's climate and common flooring types play a role in deciding whether to DIY or hire a professional. Some materials are easier to work with than others. Your choice can impact the final look, durability, and value of your home. Let's explore the upsides and downsides of DIY flooring installation in San Antonio.
Benefits of DIY Flooring Installation
DIY flooring installation can offer several advantages for homeowners in San Antonio. You can save money, personalize your space, and feel proud of your work.
Cost Savings
When you install flooring yourself, you can cut labor costs significantly. The money you save on professional installation can be used for higher-quality materials or other home improvements.
You have control over the project timeline. This means you can work at your own pace and avoid rush fees.
By doing the work yourself, you'll also save on extra charges like removal of old flooring or furniture moving. These tasks can add up when hiring professionals.
Remember to factor in tool costs. If you already own the necessary tools, your savings will be even greater.
Personal Customization
DIY installation gives you complete control over the design process. You can experiment with different patterns or layouts without extra charges.
You can take your time to ensure each piece is placed exactly how you want it. This level of detail is especially important for intricate designs or unique room shapes.
If you change your mind mid-project, you can easily adjust your plan. Professional installers might charge extra for last-minute changes.
You can also blend different materials or colors to create a truly unique floor. This customization allows you to match your flooring perfectly to your decor and style.
Sense of Accomplishment
Completing a flooring project yourself can be very rewarding. You'll feel a sense of pride every time you walk on the floors you installed.
DIY projects help you develop new skills. You'll learn about subfloor preparation, measuring, cutting, and proper installation techniques.
These skills can be useful for future home improvement projects. You might feel more confident tackling other DIY tasks around your house.
Sharing your success with friends and family can be enjoyable. You can show off your handiwork and possibly inspire others to try DIY projects.
Challenges of DIY Flooring Installation
DIY flooring installation can be tricky. You might face some tough challenges along the way. Let's look at the main issues you need to think about before starting your project.
Skill Level Requirement
DIY flooring needs some skill. You must know how to use tools and read instructions well. Different floors need different skills:
- Hardwood: Needs careful cutting and nailing
- Tile: Requires precise measurements and grout work
- Laminate: Calls for accurate cutting and clicking pieces together
Installing flooring yourself can be hard if you're new to home projects. You might need to learn new skills fast. This can slow you down or lead to mistakes.
Some floors are harder to install than others. Carpet and vinyl are often easier for beginners. But even these need care to look good and last long.
Time Commitment
DIY flooring takes a lot of time. You need to plan for:
- Moving furniture out of the room
- Removing old flooring
- Prepping the subfloor
- Measuring and cutting new materials
- Installing the new floor
- Cleaning up and moving furniture back
A pro might finish in a day or two. But for you, it could take a week or more. This means living with a torn-up room for a while.
Your daily life might be upset during the project. You'll need to work around the mess and noise. This can be hard if you have kids or pets.
Potential for Mistakes
Mistakes in flooring can be costly and hard to fix. Common errors include:
- Buying too little or too much material
- Not prepping the subfloor right
- Leaving gaps or bumps in the floor
- Using the wrong adhesive or nails
These mistakes can hurt how your floor looks and works. They might also void warranties on the flooring.
Fixing errors often means buying more materials. You might even need to start over. This can wipe out any money you saved by doing it yourself.
Some mistakes can cause bigger problems later. A badly laid floor might let water in. This can lead to mold or rot under your floor.
Materials and Tools for DIY Flooring
DIY flooring projects need the right tools and materials. Your choices matter for a good result. San Antonio's weather also plays a role in what works best.
Essential Tools
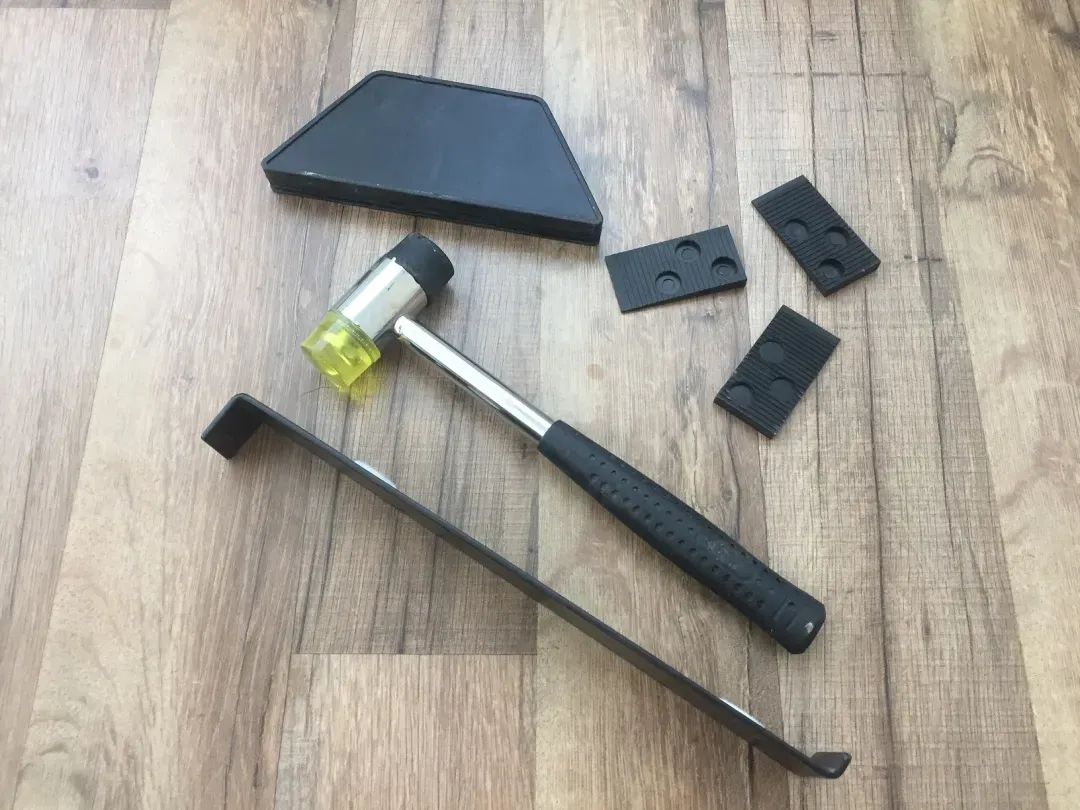
You'll need some key tools for your DIY flooring job. A tape measure is a must for accurate cuts. A utility knife helps trim materials. A tapping block and pull bar aid in fitting planks together.
For wood floors, you'll want a saw. A circular saw works for straight cuts. A jigsaw helps with curved cuts around obstacles.
Tile projects call for different gear. You'll need a tile cutter and notched trowel. Spacers keep tiles even. A level ensures your floor stays flat.
Don't forget safety items. Knee pads protect your joints. Safety glasses guard your eyes from debris. Gloves shield your hands during tough work.
Choosing the Right Materials
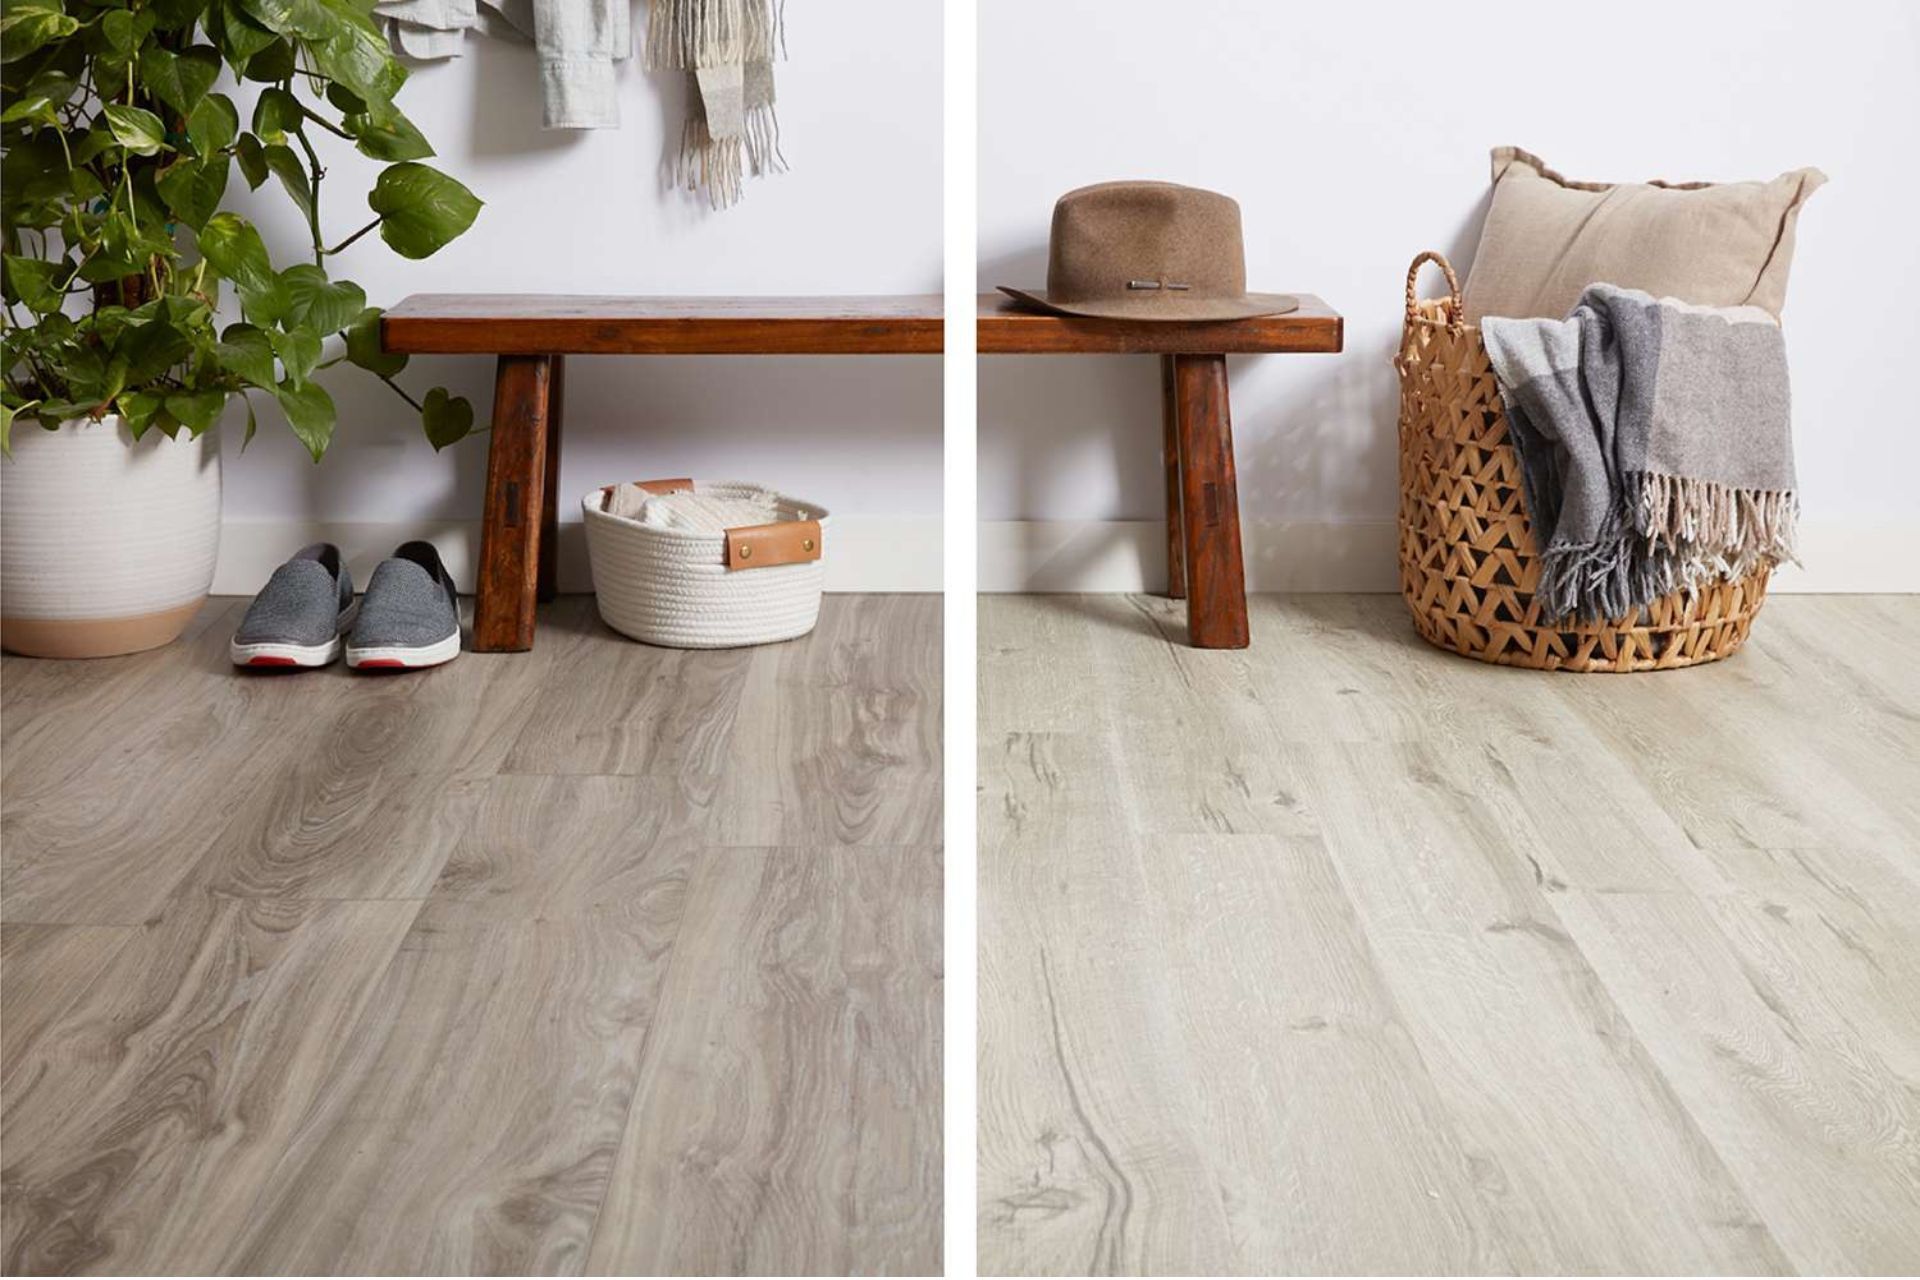
Your floor type guides your material pick. Vinyl planks and laminate are DIY-friendly. They often use click-lock systems for easy install.
Hardwood needs more skill but looks great. Engineered wood is simpler to work with than solid wood. It resists warping too.
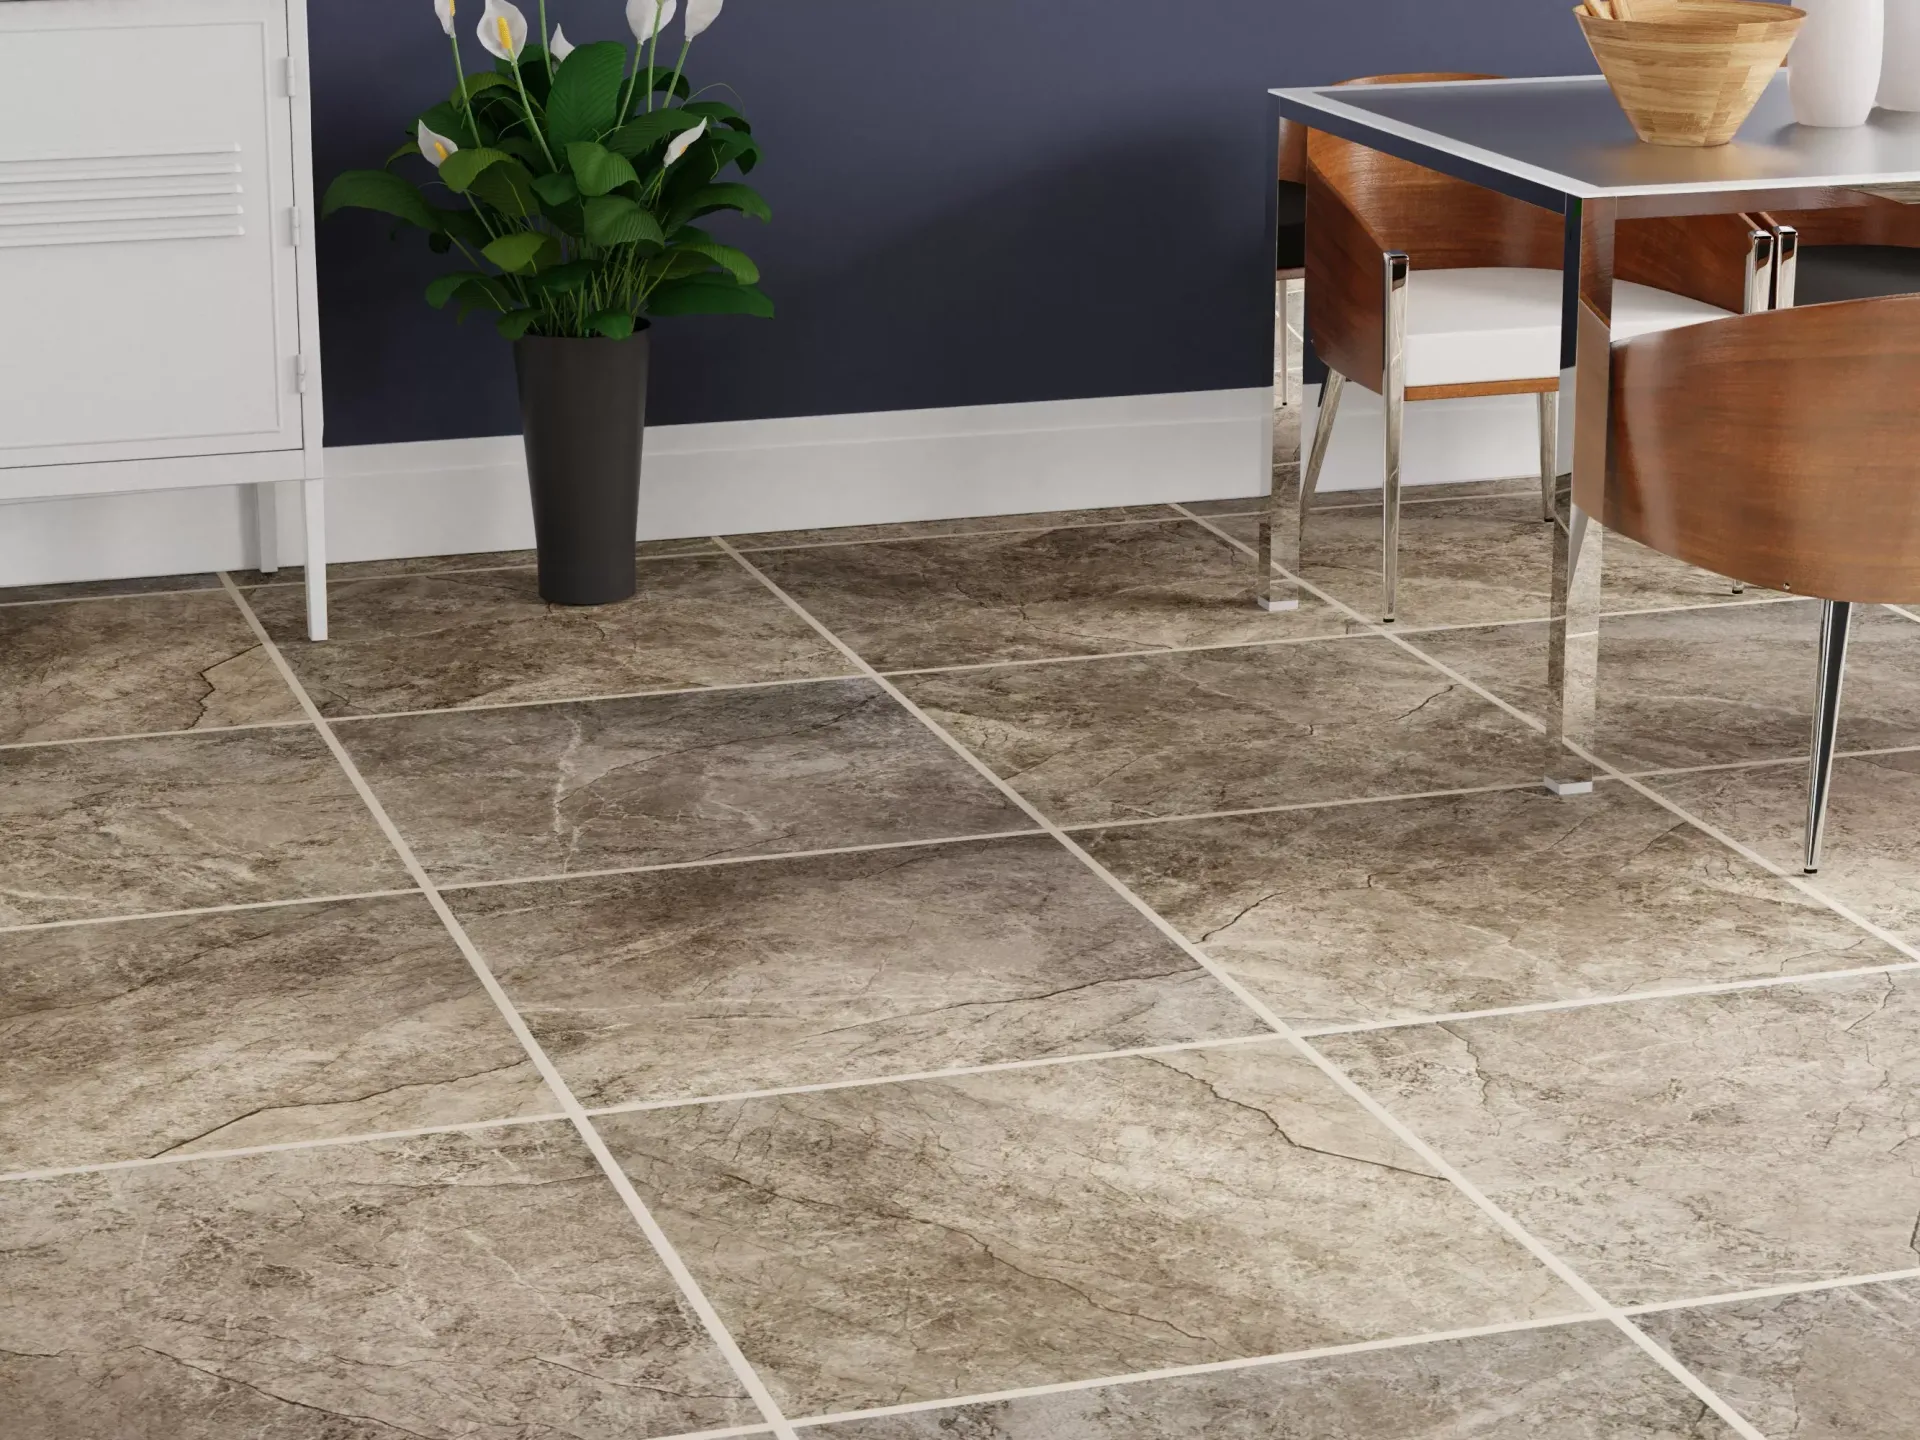
Tile gives lots of style options. Ceramic is cheaper and easier to cut than porcelain. But porcelain lasts longer and resists water better.
Think about foot traffic in each room. High-traffic areas need tougher floors. Bedrooms can use softer options like carpet or luxury vinyl.
San Antonio's Climate Considerations
San Antonio's hot, humid weather affects flooring choices. You need materials that can handle moisture and temp changes.
Vinyl and tile work well in this climate. They resist water and don't warp easily. If you want wood, go for engineered types. They handle humidity better than solid wood.
Proper underlayment is key. It blocks moisture from the subfloor. This step is extra important in San Antonio's damp weather.
Some floors need time to adjust to your home's climate. Let wood and laminate sit in the room for a few days before installing. This prevents gaps from forming later.
Installation Techniques for Different Flooring Types
Different flooring materials require specific installation methods. Each type has unique challenges and steps to ensure a proper fit and long-lasting results.
Tile Flooring
Tile installation starts with preparing a smooth, level subfloor. You'll need to apply thinset mortar using a notched trowel. Place spacers between tiles to maintain even gaps.
Cut tiles as needed with a wet saw for precise fits around edges and fixtures. After the thinset dries, apply grout between tiles with a rubber float. Wipe away excess grout with a damp sponge.
For best results, work in small sections and check your layout frequently. Proper tile installation requires patience and attention to detail.
Laminate Flooring
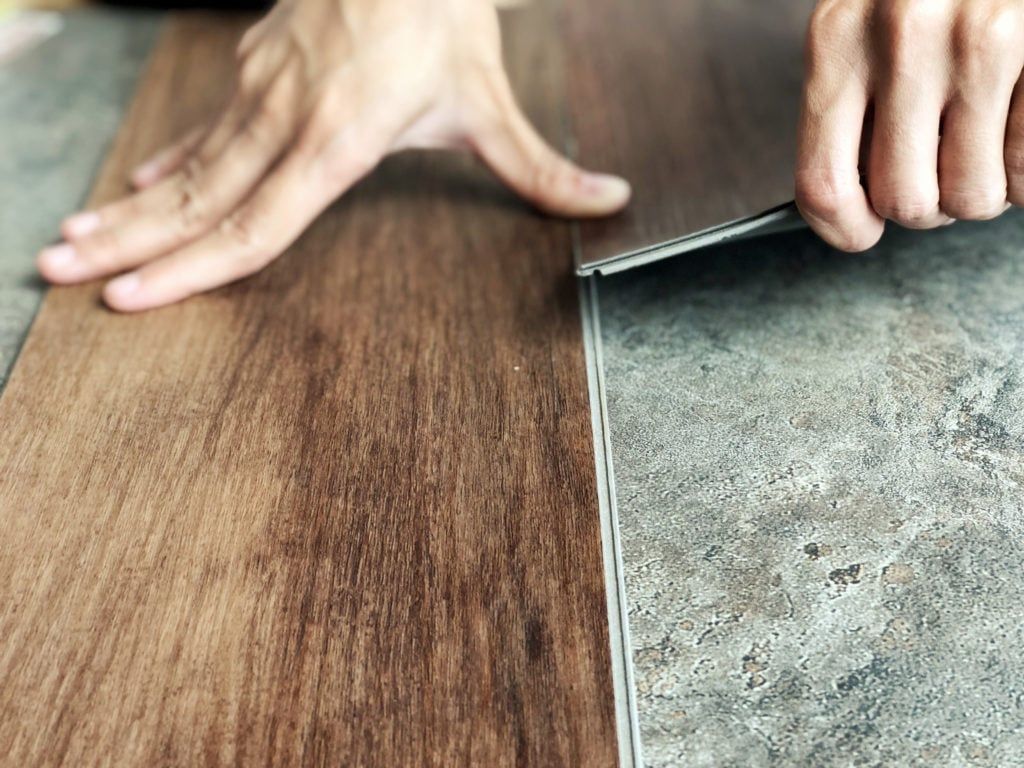
Laminate flooring uses a click-lock system for easy installation. Start by laying a moisture barrier over the subfloor. Begin in a corner and work your way across the room, clicking planks together.
Use spacers along walls to allow for expansion. Cut end pieces with a saw to fit. Stagger the seams between rows for a natural look.
You can often install laminate over existing flooring, saving time and effort. This floating floor method doesn't require adhesive, making it a popular choice for DIY projects.
Hardwood Flooring
Hardwood installation varies based on the type of wood and subfloor. For nail-down installation on a wood subfloor, use a pneumatic flooring nailer to secure planks.
Start with a straight first row, then work across the room. Face-nail the first and last rows where the flooring nailer can't reach. Cut end pieces to fit, leaving an expansion gap at walls.
For concrete subfloors, you may need to glue down the hardwood. Apply adhesive with a trowel and press planks into place. Hardwood installation requires precision to ensure a smooth, gap-free surface.
After Installation: Maintenance and Repair
Proper care and timely repairs are key to keeping your floors looking great for years to come. You'll need to know how to maintain your new floors and address common issues that may arise.
Regular Maintenance Tips
To keep your new floors in top shape, follow these tips:
- Sweep or vacuum regularly to remove dirt and debris.
- Use doormats at entrances to trap dirt before it reaches your floors.
For hardwood floors:
- Dust mop with a microfiber cloth weekly.
- Clean spills immediately to prevent staining.
- Use wood-specific cleaners every 2-4 weeks.
For tile floors:
- Mop with warm water and mild detergent weekly.
- Avoid harsh chemicals that can damage grout.
For carpet:
- Vacuum twice a week in high-traffic areas.
- Have your carpets professionally cleaned once a year.
Repairing Common Issues
Even with proper care, floors may need repairs. Here's how to handle common problems:
For hardwood:
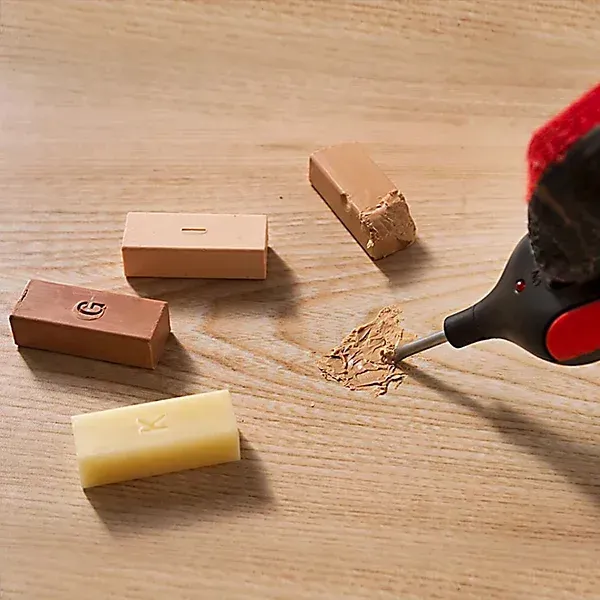
- Fill small scratches with wood filler.
- Sand and refinish deeper scratches or dents.
For tile:
- Replace cracked tiles by carefully removing grout and lifting the damaged piece.
- Re-grout areas where the grout has cracked or fallen out.
For carpet:
- Trim loose fibers instead of pulling them.
- Use a carpet repair kit for small holes or burns.
For more serious issues, don't hesitate to call a pro. Hiring a professional for repairs can save you time and ensure the job is done right.
Wrapping Up
DIY flooring installation can be rewarding, but it's not for everyone. You need to weigh the pros and cons carefully before deciding.
If you're handy and have the time, DIY can save money. But mistakes can be costly and time-consuming to fix.
For many homeowners in San Antonio, professional flooring installation is often the best choice. It ensures quality results and saves you time and stress.
San Antonio Flooring Company offers expert installation services. Our team has the skills and tools to handle any flooring project.
You'll get perfect results without the hassle of DIY. We can install hardwood, tile, carpet, and more.
For your next flooring project, consider San Antonio Flooring Company. We'll make sure your new floors look great and last for years to come.
Call us today for a free quote. Your floors are an important part of your home - trust the pros to get it right.
